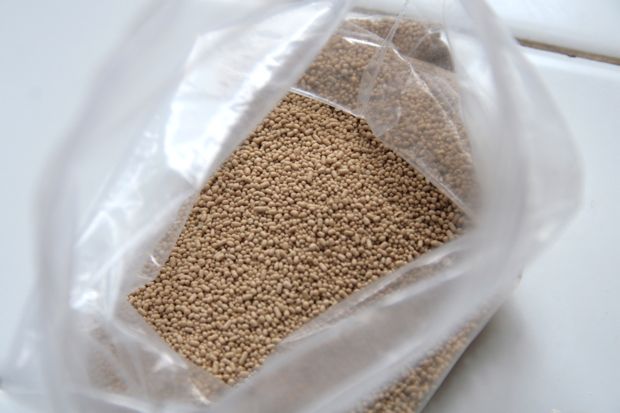
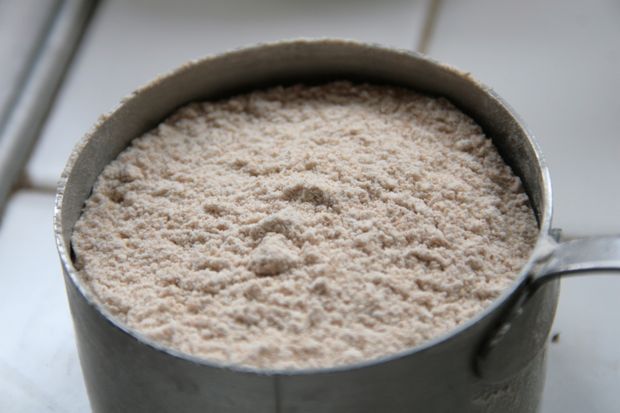
Uh oh. Did I lose you? I hope not because this bread is worth every second of time. The best part is that it doesn’t really take much actual time. It’s just a lot of waiting after mixing or kneading. The trick is to start with good yeast and flour. I purchased both of mine at the bulk section of my local co-op. I have had an itch for bread baking for months but no motivation to follow through.
It is a precise, delicate and often frustrating process. I have attempted bread several times and never have I been successful in any way. A good friend even told me she wanted to make bread recently and I lent her my “Artesian bread in five minutes a day” cookbook because I haven’t opened the thing since I bought it. Throw a six month old baby who loves to be attached to his mama all the time and it starts to feel like bread making won’t happen for another few years.
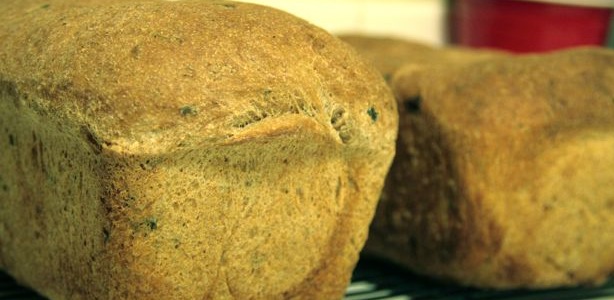
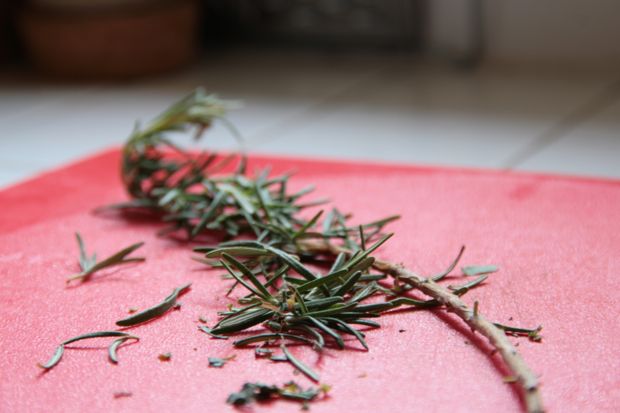
Then I opened “Feeding the Whole Family” for at least the one-hundredth time and was inspired. The recipe is taken from a variation off their whole grain bread. It tastes like a whole wheat bread but less dense and with more of a garlic kick. It makes two loaves and smells heavenly while baking.
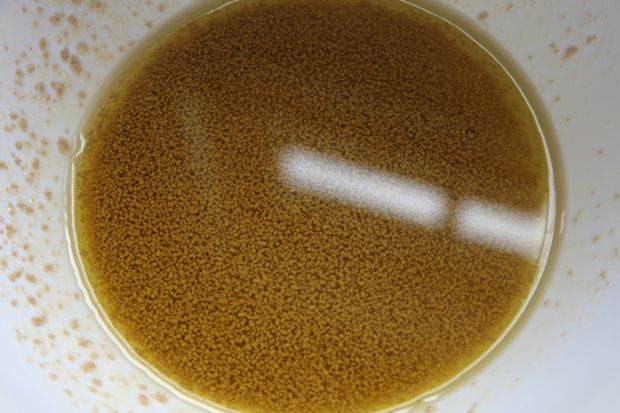
The recipe calls for making a “starter” 12-24 hours before you even begin kneading or baking. I learned that this process increases the moistness and flavor of the bread so I let it sit for the full 24 hours. It also increases the likelihood of success and is especially important when making whole wheat based breads because they can be very dry and dense.
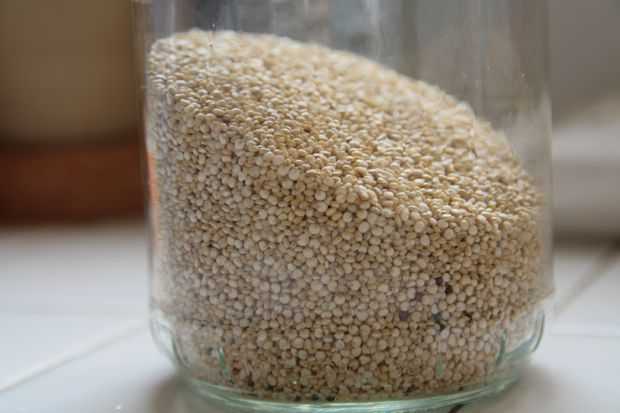
Blend quinoa and water in blender or food processor until creamy; pour into a large mixing bowl. Mix in oil, salt and yeast. Add enough flour to make the mixture look like thick-cooked cereal. Cover the bowl wiht plastic wrap or a damp towel and leave for 12-24 hours at room temperature. Once the dough is fermented, it can be refrigerated for up to a week before using.
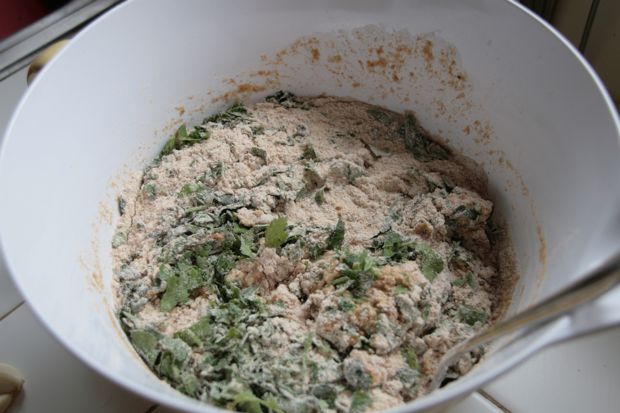
After 12-24 hours add sweetener to dough and stir. Stir in whole wheat flour. As you add the white/whole wheat flour, the mixture will be too difficult to stir. Knead it by hand in the bowl and continue to add white/whole wheat flour. I used 1 cup white and 2 cups whole wheat.
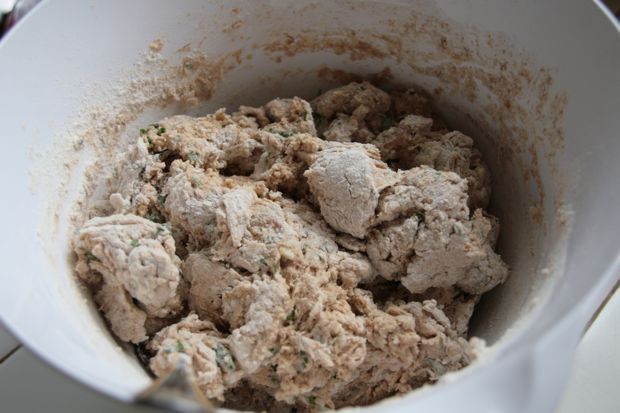
When dough is less sticky, transfer to floured surface and knead 10-15 minutes, or until dough is soft and springy, but not too sticky. A good friend, who is a bread baking expert, told me it is better if it is too sticky than too dry so don’t overdo it on the flour.
Wash and dry mixing bowl and oil it. Place dough in bowl, cover, and let rise in warm place (65-70 degrees or hotter) for 1.5-2 hours. It is very important that the dough rise in a warm place. I believe my problem with failed bread in the past was that the house was way to cold.
I usually want to make bread in the winter, go figure. If it is a cool day you can let the dough rise longer, up to three hours. To make the loaves, lightly oil 2 loaf pans. I used two different size pans and it worked great. Divide dough in half. Punch down and shape the dough using the following instructions.

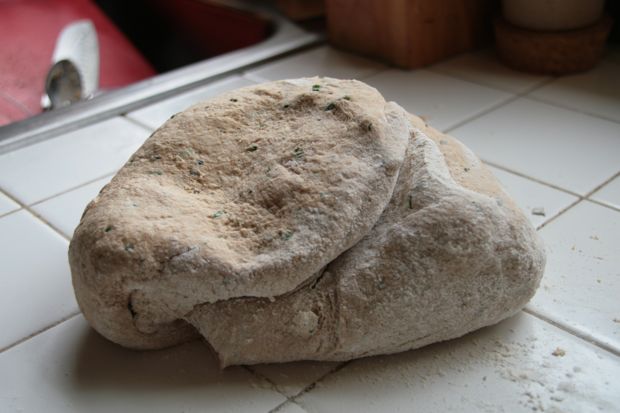
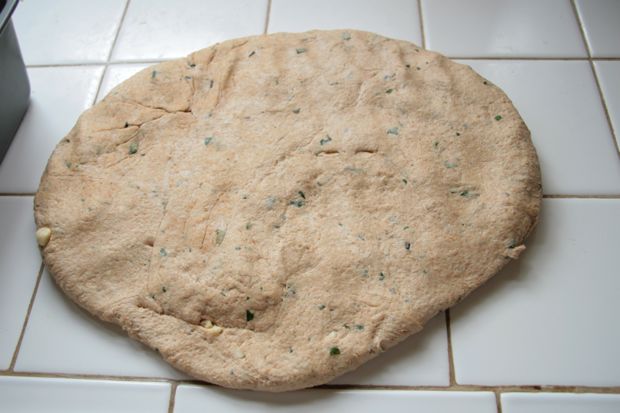
Flatten half of the dough into a square on your working surface. Press all of the air out of the dough by vigorously slapping the dough with the palms of both hands.
Fold the flattened dough into a triangle and press it down again. Fold two corners into the center and press again. Fold the top point into the body of the dough and press it down again.
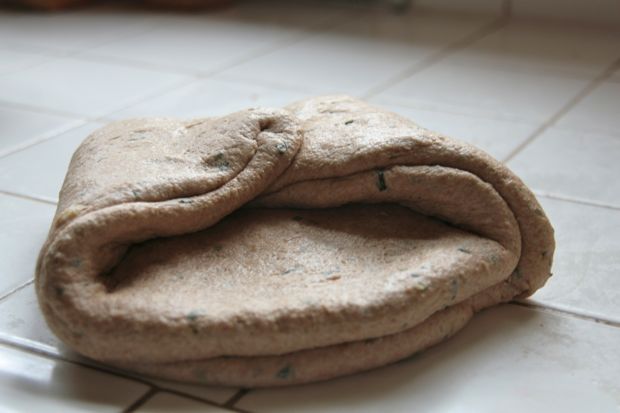
Pick up the dough with both hands and begin rolling it into itself. This stretches the outside of the dough and creates a tight roll with no air pockets. Seal the seam by flattening it with the heel of your hand. Shape the dough into a nice loaf and place in the pan seam side down. Repeat punching down and shaping the other half of the dough.
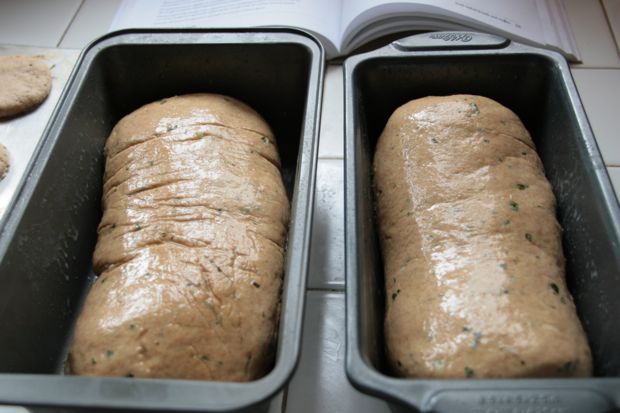
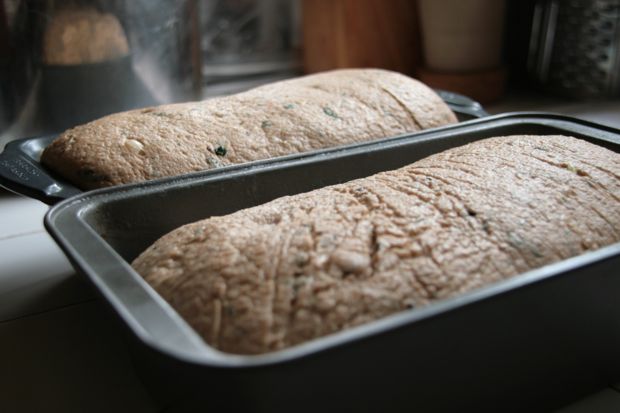
Mix water, syrup, butter and salt in small cup or bowl and coat the top of each loaf with this mixture. I used all of it, re-coating the bread several times. Cover and let rise in pans for 45-60 minutes or until loaves have doubled in size. Test the bread for readiness if you press the dough and it wants to stay in, but still has a little spring then it’s ready. I had to be somewhere for a few hours and the bread go to rise for three hours. I think it made a huge difference so don’t be a stickler about time but make sure you just let it keep rising until it reaches the pictured height.
Preheat oven to 350 degrees and bake 45-60 minutes. Bread will come out of pans after five minutes of cooling. Do not remove before it has a chance to cool a bit. Let cool 30 minutes before slicing.

Those holes indicate it is well done…I had to brag a little more.
